ArmSoM eMMC Module
1. Product Introduction
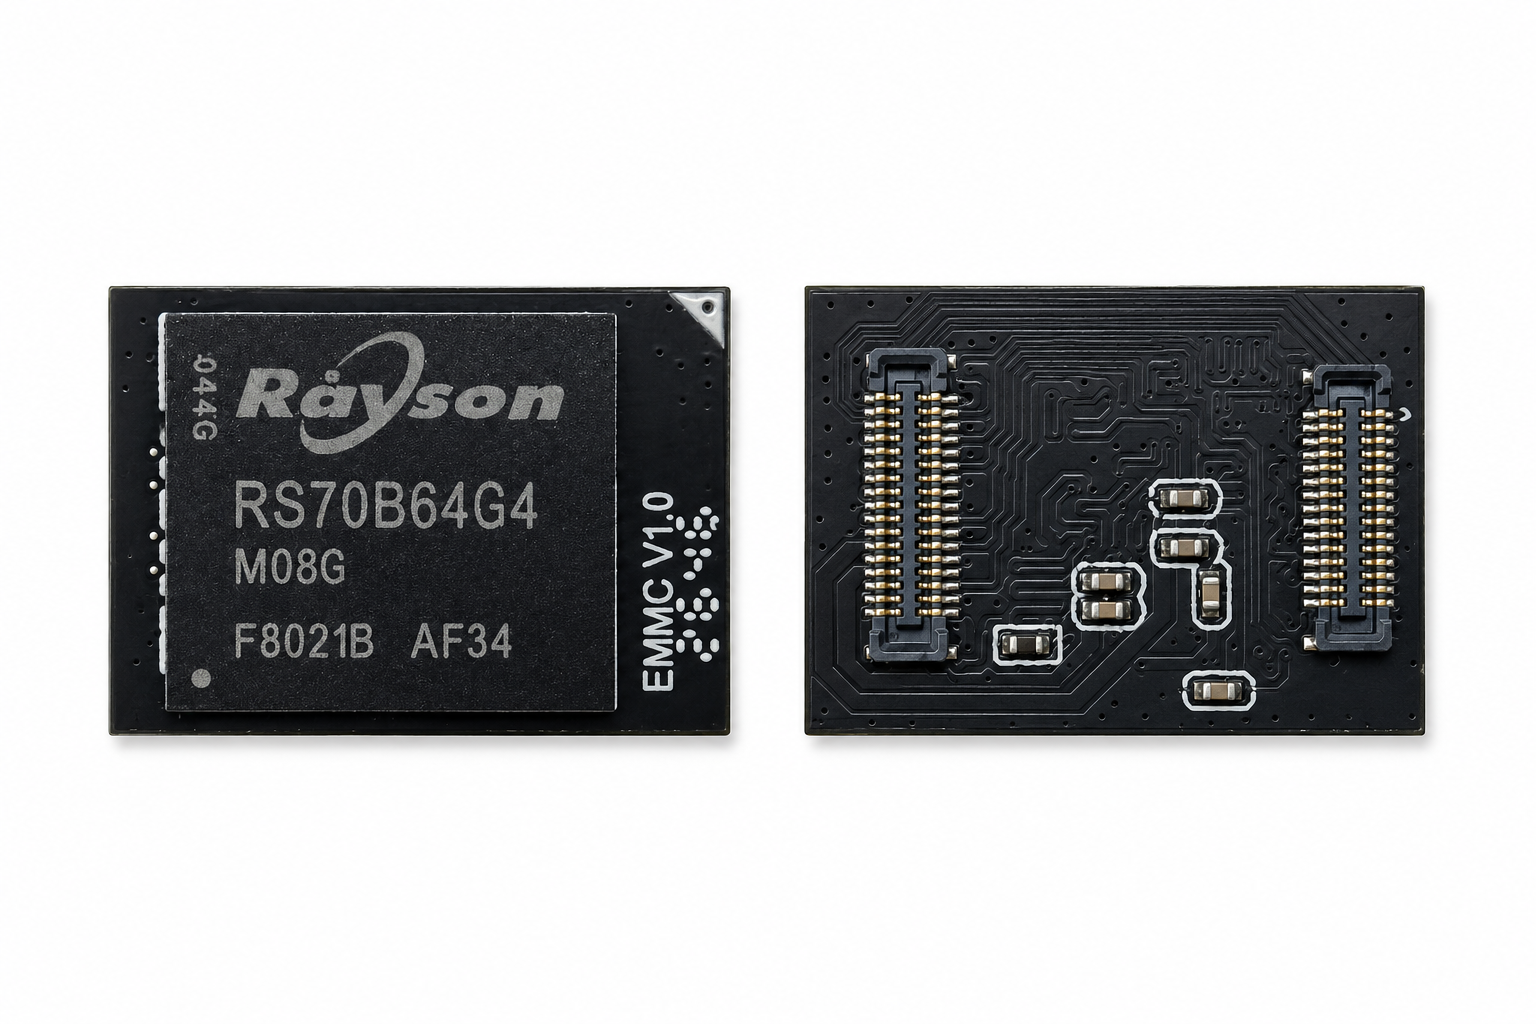
The ArmSoM eMMC module provides removable system storage for Sige7S. Once installed and flashed with a compatible image, it stores the operating system, applications and user data. The module can be replaced separately from the board when changing storage or preparing another system environment.
eMMC integrates flash memory and a storage controller in one package. The operating system accesses it as a block device; applications use the mounted filesystem without managing the flash directly.
2. Specifications
| Item | Description |
|---|---|
| Brand | ArmSoM |
| Product option | 64GB eMMC module |
| Connection | Plugs into the Sige7S eMMC connector; two board-to-board connectors on the module |
| Usage | System boot, application installation and data storage |
64GB is the nominal capacity of the linked product option. Linux tools may display capacity in GiB; partitioning and filesystem overhead also reduce the space available for files.
3. Compatibility
- ArmSoM Sige7S (Rockchip RK3588S)
- Use a Sige7S system image, including the Debian 12 and Ubuntu 22.04 images listed in the board documentation.
4. Installation and use
4.1 Install the module
- Shut down Sige7S, disconnect its power supply and unplug connected cables before installing the module.
- Locate the eMMC connector using the Sige7S hardware layout. Align both connectors on the underside of the module with the matching connectors on the board.
- Press evenly over the connector areas until the module is seated. Check that both sides are level and fully engaged before reconnecting power.
Do not insert or remove the module while powered. If the connectors do not align, check the orientation instead of forcing the module into place. Use the module with the specified compatible board.
4.2 Write a system image
Prepare a Sige7S system image, a USB-A male-to-male data cable, the board's power supply, and the Rockchip flashing tools on a Windows PC. Follow the illustrated Sige7S eMMC flashing instructions to enter Maskrom or Loader mode and write the image with RKDevTool.
The USB-A cable connects the board's designated USB 3.0 flashing port to the PC. The USB Type-C port supplies power; refer to the board guide for the port and mode-selection pin locations.
Writing a system image overwrites data on the target storage. Back up existing files and use an image intended for Sige7S. Wait for the tool to report completion before disconnecting power or the data cable.
After flashing, shut down and disconnect power, remove any bootable microSD card, then power on to check eMMC boot.
4.3 Check storage in Linux
Run the following in the board's terminal:
lsblk -o NAME,SIZE,TYPE,FSTYPE,MOUNTPOINTS
findmnt -no SOURCE /
df -h /
lsblk lists storage devices and partitions, findmnt shows the source of the root filesystem, and df reports its available space. Match the root partition to its parent device in lsblk to check where the running system is stored. Device numbering depends on the image and connected storage; do not assume the eMMC is always mmcblk0.
If the module is not detected, power off and check both connectors first, then confirm that the image matches Sige7S. For a boot failure, use the board's debug serial port to inspect the boot log.
5. Purchase Samples
ArmSoM official Taobao store: https://item.taobao.com/item.htm?id=1102453604774&skuId=6323671086868
Select EMMC模块(64GB) on the product page. For a board kit, check its contents before ordering the module separately.
OEM/ODM and bulk enquiries: sales@armsom.org