Rockchip Video Codec Examples
The archive contains prepare-video.sh; extract and run it in section 3. Video is not bundled: the script downloads Sintel from Blender’s official website and prepares the clip used in the examples. Codec commands remain in the individual examples.
1. Introduction to video codecs
This guide covers three ways to work with H.264 and H.265 on ArmSoM boards. First, use GStreamer and Rockchip MPP to hardware-transcode a 1080p H.264 clip to MP4 and play it over HDMI. Next, try H.265 software encoding and decoding with FFmpeg, then verify the GStreamer hardware path. Finally, use the MPP command-line tools to test both codecs with elementary streams and raw NV12 frames.
H.264 (AVC) and H.265 (HEVC) are video coding formats. Decoding reconstructs pictures from a compressed bitstream, and encoding compresses pictures into a bitstream. MP4 is a container that stores streams and timing information. The third example also works with two intermediate files: an elementary bitstream without an MP4 container and uncompressed NV12 frames. NV12 stores luma and interleaved chroma in separate planes.
| Technology | Role in this guide | Examples |
|---|---|---|
| GStreamer | Connects demuxing, parsing, codec, muxing, and display elements in a pipeline. This guide uses mppvideodec for hardware decoding and mpph264enc or mpph265enc for hardware encoding. | Examples 1 and 2 |
| FFmpeg | Prepares clips and extracts streams, with ffprobe to inspect outputs. Example 2 uses the board's system FFmpeg for H.265 software encoding and decoding, then plays the output with GStreamer and MPP. | Example 2 and file checks elsewhere |
| Rockchip MPP | Gives applications access to Rockchip video codec hardware. Example 3 uses mpi_dec_test and mpi_enc_test to verify decoding and encoding separately and inspect NV12 data and elementary streams. | Example 3 and the underlying library for the Rockchip GStreamer plugin |
Start with example 1 to produce a playable MP4. Use example 2 to compare H.265 software and hardware workflows. Use example 3 to investigate elementary streams, pixel formats, or frame strides.
1.1 How data moves through the pipeline
An MP4 file first goes through a demuxer to extract its video stream. A parser prepares the compressed stream for the decoder, which produces raw frames. From there, the pipeline can display those frames or pass them to an encoder and mux the new bitstream into MP4.
| Stage | Elements in this guide | What to check |
|---|---|---|
| Read and parse | filesrc, qtdemux, h264parse or h265parse | Match the parser to the input codec. An Annex B elementary stream skips the MP4 demuxer. |
| Decode | mppvideodec | A run ending in EOS with fakesink verifies that the pipeline reached the end without displaying frames. |
| Encode and save | mpph264enc or mpph265enc, parser, mp4mux | Let the muxer finish at EOS, then check codec, dimensions, frame rate, and frame count with ffprobe. |
| Display | xvimagesink | Check the display session separately. A valid MP4 can still fail to play if the display sink cannot accept the decoded format. |
The MPP tools expose raw NV12 frames. For a tightly packed 8-bit NV12 frame with even dimensions, the Y plane takes width × height bytes, and the interleaved UV plane takes half as much. Hardware buffers can have padding, so use the actual row and vertical strides when reading them.
2. Tested setup and prerequisites
2.1 Supported board and image configurations
The ArmSoM SDK includes these ARM64 board and OS configurations for Debian 12 and Ubuntu 22.04:
| SoC | Boards | SDK image families |
|---|---|---|
| RK3528 | Sige1 | Debian 12 |
| RK3576 | AIM5, CM5 (CM5-IO and CM4 Nano B IO), Sige5 | Debian 12, Ubuntu 22.04 |
| RK3588 / RK3588S | AIM7, CM7S, LM7, Sige7, Sige7S | Debian 12, Ubuntu 22.04 |
Both SDK rootfs trees include Rockchip MPP and the GStreamer Rockchip plugin. On another board, use its matching official image and run the element checks in section 2.3. Then verify that decoding reaches EOS and that the encoded MP4 passes the file checks in section 4. An SDK image configuration alone does not establish runtime support for every codec or display path.
Decode and encode can run without a desktop. The HDMI commands in section 4.1 require an active X11 session and a working xvimagesink; the presence of the element alone does not verify XVideo support. The complete workflow in this guide was tested on CM7S with Debian 12 XFCE/X11. Other listed board and image combinations, including Ubuntu 22.04, are candidates for the same verification steps.
2.2 Tested setup
The test used ArmSoM CM7S (RK3588S) with Debian 12 arm64 XFCE/X11 and kernel 6.1.118-rk3588. HDMI was set to 1920×1080 at 60 Hz. The installed GStreamer tools, Rockchip GStreamer plugin, and MPP library packages were 1.22.9-1, 1.14-4, and 1.5.0-1, respectively.
2.3 Install and check dependencies
On a fresh image, check the board clock before downloading the sample or using APT. If the time is wrong, set the current date and time in the desktop settings. Retry the download after correcting the clock if HTTPS reports that the certificate is not yet valid.
date -Is
Connect HDMI and log in. If the tools are missing, connect to the internet and install them on the board.
The tested image already includes these tools. As root, omit sudo.
Before refreshing the index, check the system clock and repositories in Update the APT package source list.
sudo apt update
sudo apt install gstreamer1.0-tools ffmpeg curl
Then check the GStreamer elements. If the MPP codecs are missing, check the official desktop image and Rockchip plugin package for your board.
mkdir -p ~/rockchip-video
cd ~/rockchip-video
for element in qtdemux h264parse mppvideodec mpph264enc mp4mux fpsdisplaysink xvimagesink; do
  gst-inspect-1.0 "$element" >/dev/null || break
  printf '%s OK\n' "$element"
done
The example uses system FFmpeg to prepare and inspect media. For FFmpeg's Rockchip codecs and RGA filters, see the FFmpeg installation guide.
3. Prepare a 1080p H.264 clip
Generate a five-second, 30 fps test pattern without network access. Select it as the input for the following steps.
ffmpeg -nostdin -n -f lavfi -i testsrc2=size=1920x1080:rate=30 -frames:v 150 -c:v libx264 -preset ultrafast -pix_fmt yuv420p input-1080p.mp4
INPUT=input-1080p.mp4
OUTPUT=output-mpp.mp4
With internet access, you can instead download the official Sintel 1080p trailer. Use prepare-video.sh from the archive to take eight seconds starting at 12 seconds, drop audio, and normalize the clip to 1080p30. Footage © Blender Foundation | durian.blender.org, CC BY 3.0.
cd ~/rockchip-video
curl -fL https://docs.armsom.org/downloads/rockchip-video/rockchip-video-examples.tar.gz -o rockchip-video-examples.tar.gz
tar -xzf rockchip-video-examples.tar.gz
bash prepare-video.sh
The source is saved to ~/rockchip-video/sintel-source.mp4, and the test clip to ~/rockchip-video/sintel-1080p.mp4. The script reuses an existing source. If the clip already exists, use it directly or rename it before rerunning.
INPUT=sintel-1080p.mp4
OUTPUT=sintel-output-mpp.mp4
Run section 3 with the Sintel sample before continuing to examples 2 and 3. Keep the same terminal so INPUT and OUTPUT remain set.
4. Example 1: H.264 hardware decode and encode to MP4
Verify decoding with mppvideodec. This test opens no window, and sync=false lets the pipeline process input as fast as it can.
time gst-launch-1.0 filesrc location="$INPUT" ! qtdemux ! h264parse ! mppvideodec ! fakesink sync=false
Encode at a target 6 Mbps with mpph264enc, then mux with mp4mux.
Choose a new output name if the file exists. Wait for EOS so mp4mux can finish the file.
time gst-launch-1.0 -e filesrc location="$INPUT" ! qtdemux ! h264parse ! mppvideodec ! mpph264enc bps=6000000 ! h264parse ! mp4mux ! filesink location="$OUTPUT"
Go to the working directory, then list the output file. The test pattern produces output-mpp.mp4; Sintel produces sintel-output-mpp.mp4. If you opened a new terminal, set OUTPUT to the corresponding filename first.
cd ~/rockchip-video
ls -lh -- "$OUTPUT"
ffprobe -v error -select_streams v:0 -show_entries stream=codec_name,width,height,avg_frame_rate,nb_frames:format=duration -of default=nw=1 "$OUTPUT"
4.1 HDMI playback and board results
Play on XFCE/X11. Statistics go to ~/rockchip-video/playback-xv.log.
In a desktop terminal, use its existing DISPLAY. Over serial, replace :0 with the active display number.
DISPLAY=:0 gst-launch-1.0 -v filesrc location="$OUTPUT" ! qtdemux ! h264parse ! mppvideodec ! fpsdisplaysink video-sink=xvimagesink text-overlay=false sync=true > playback-xv.log 2>&1
echo "PLAY_EXIT=$?"
grep -E 'rendered:|Got EOS' playback-xv.log | tail -4
| CM7S test with the generated clip | Result |
|---|---|
| Input and output | H.264, 1920×1080, 30 fps, 150 frames, 5 seconds |
| Hardware decode alone | 0.231 s |
| Hardware decode, encode, and mux | 0.676 s |
| Output file | output-mpp.mp4, about 3.5 MiB |
| HDMI playback | Reached EOS and exited with code 0. Last periodic sample showed 140 frames rendered, 0 dropped, and 30.12 fps average. |
Times are from single runs. Playback statistics were sampled before EOS and measure sink output, not monitor refresh.
On this image, direct ximagesink playback failed format negotiation. With videoconvert, it dropped frames. Use xvimagesink for this example.
4.2 Sintel trailer results
The public clip also passed on CM7S. The output retained H.264, 1920×1080, 30 fps, and all 240 frames (8 seconds). Decode took 0.322 s, and hardware decode, encode, and mux took 1.310 s. The output was 5,355,119 bytes. HDMI playback reached EOS and exited with code 0. The last periodic sample reported 236 frames rendered, 0 dropped, and 30.23 fps average.
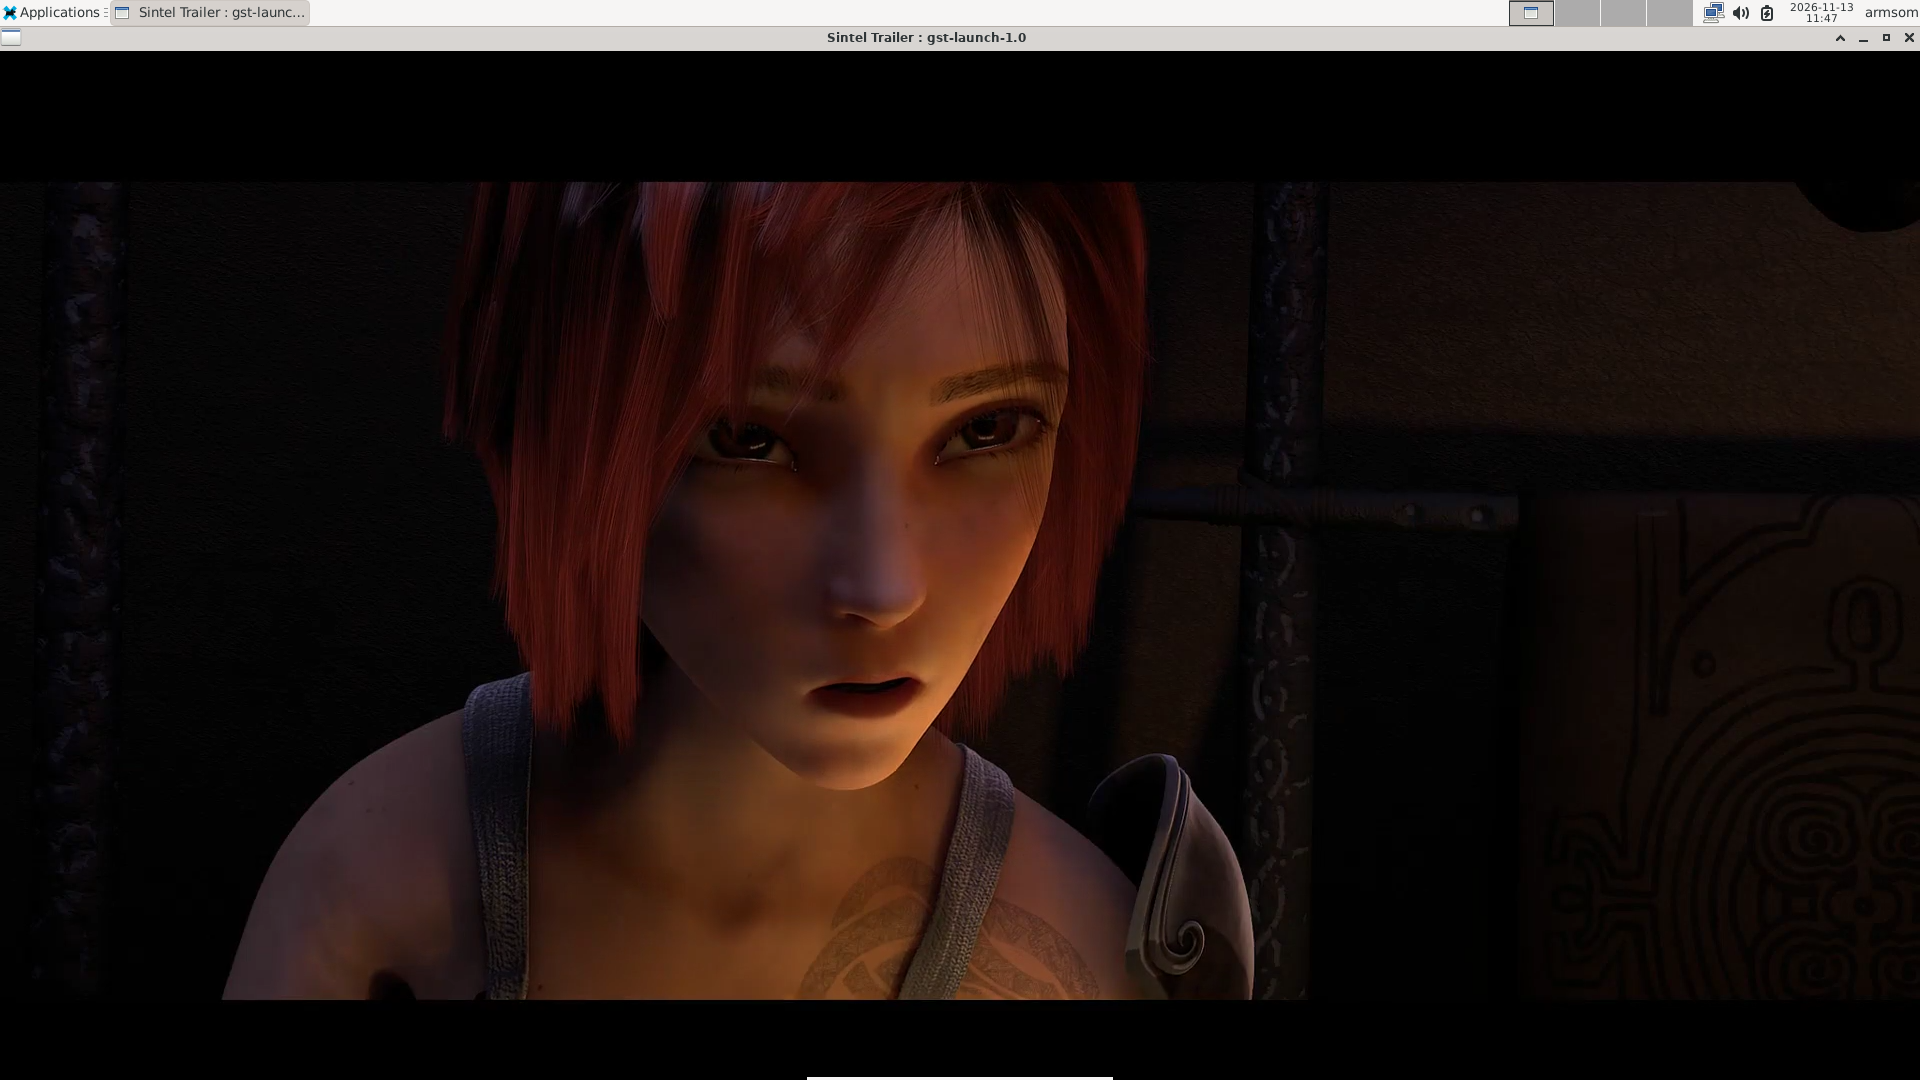
Sintel © Blender Foundation | durian.blender.org · CC BY 3.0
5. Example 2: H.265 with FFmpeg and GStreamer
5.1 Software encoding and decoding with FFmpeg
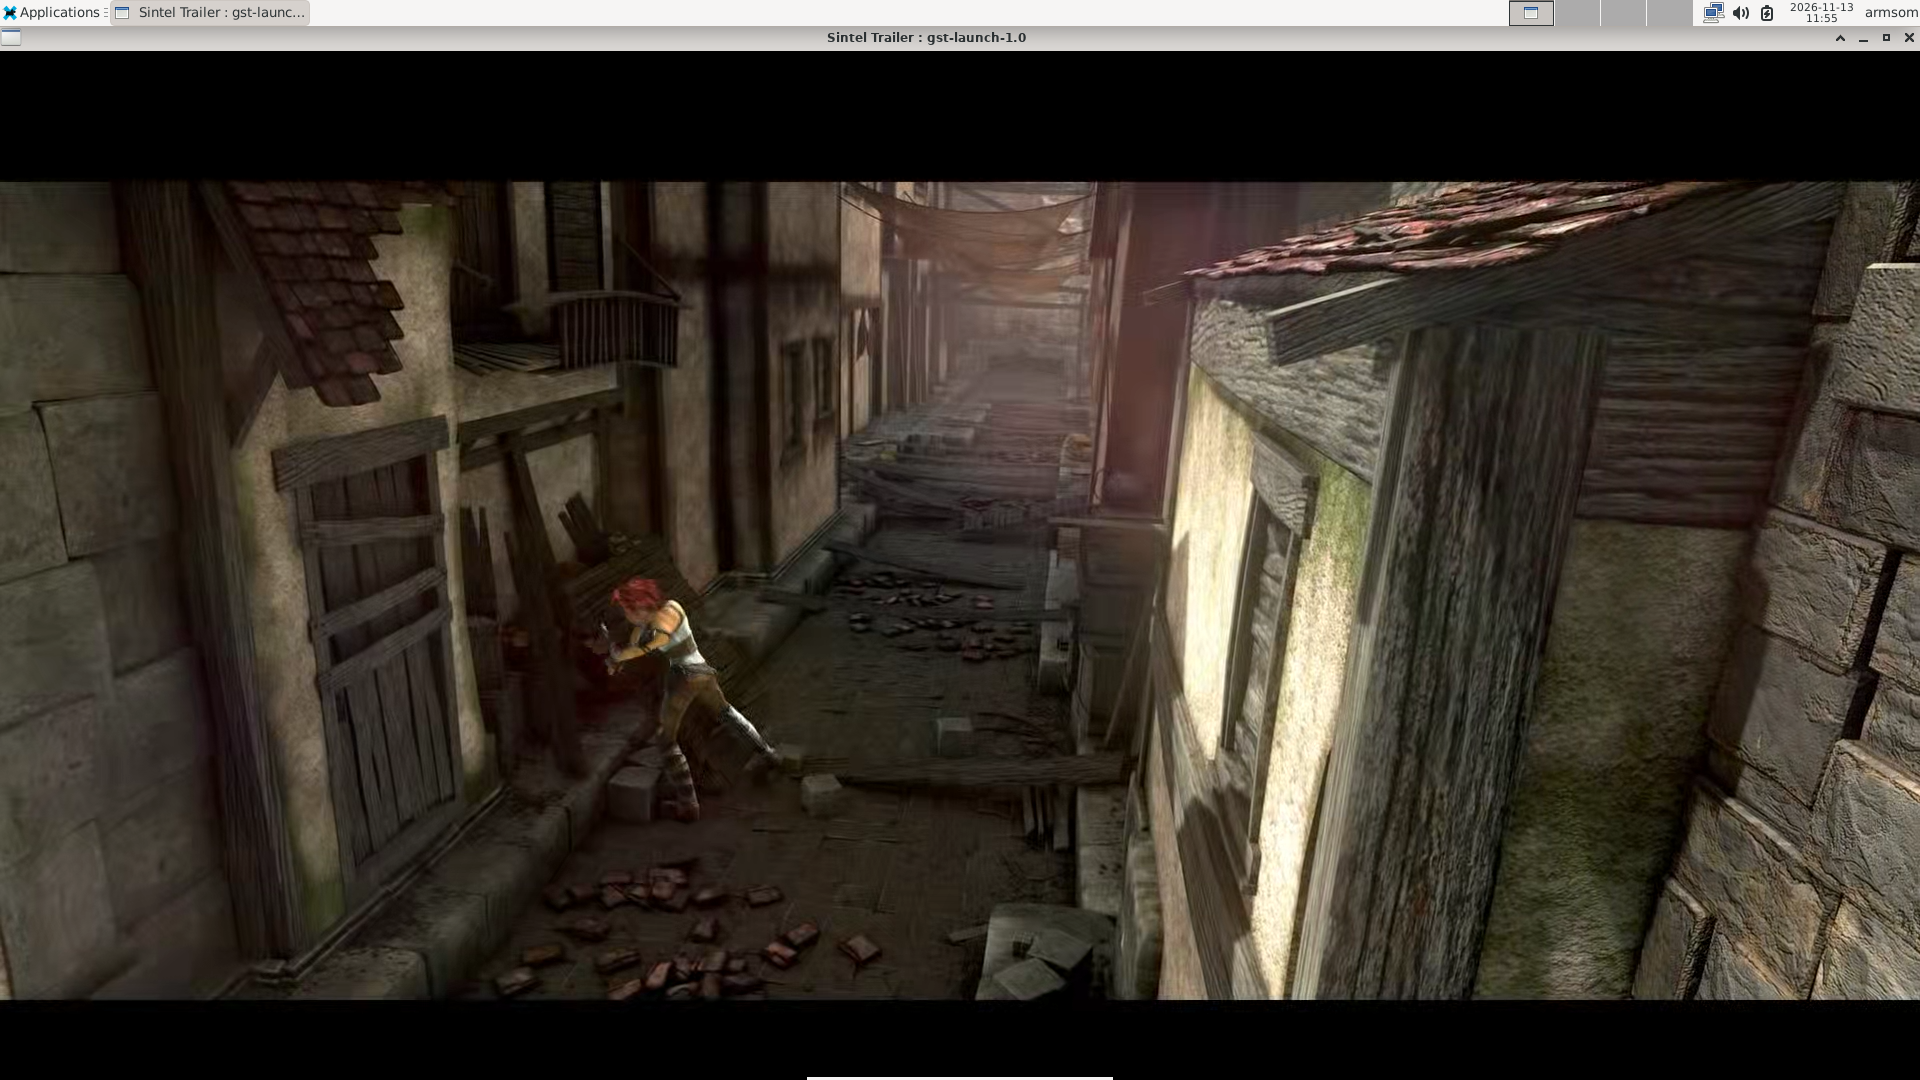
The system FFmpeg on the tested image did not list RKMPP codecs. This example encodes a different four-second Sintel excerpt on the CPU using libx265, verifies it by software decoding, then plays the output with MPP. FFmpeg encoded 120 frames in 23.25 seconds (5.16 fps); the software decode check exited with code 0. The screenshot shows MPP playback of the FFmpeg output.
mkdir -p ~/rockchip-video/advanced
cd ~/rockchip-video/advanced
ffmpeg -nostdin -n -ss 19 -i ../sintel-source.mp4 -t 4 -an -r 30 -c:v libx265 -preset ultrafast -x265-params pools=2 -pix_fmt yuv420p sintel-ffmpeg-hevc.mp4
ffmpeg -nostdin -v error -xerror -i sintel-ffmpeg-hevc.mp4 -f null -
DISPLAY=:0 gst-launch-1.0 filesrc location=sintel-ffmpeg-hevc.mp4 ! qtdemux ! h265parse ! mppvideodec ! xvimagesink
5.2 Hardware alternative with GStreamer
Use sintel-1080p.mp4 from section 3 to encode HEVC and verify it with MPP. Output: ~/rockchip-video/advanced/output-hevc.mp4.
Choose a new output name if this file already exists.
Check the H.265 hardware encoder and bitstream parser.
gst-inspect-1.0 mpph265enc
gst-inspect-1.0 h265parse
Create and enter the working directory.
mkdir -p ~/rockchip-video/advanced
cd ~/rockchip-video/advanced
Hardware-transcode to H.265 MP4 and wait for muxing to finish.
gst-launch-1.0 -e filesrc location=../sintel-1080p.mp4 ! qtdemux ! h264parse ! mppvideodec ! mpph265enc bps=6000000 ! h265parse ! mp4mux ! filesink location=output-hevc.mp4Verify hardware decoding of the output.
Got EOSmeans the pipeline reached the end of the file.fakesinkdoes not display video.gst-launch-1.0 filesrc location=output-hevc.mp4 ! qtdemux ! h265parse ! mppvideodec ! fakesink sync=falseInspect the output file separately. Expect
hevc, 1920×1080, 30 fps, and 240 frames.ffprobe -v error -select_streams v:0 -show_entries stream=codec_name,width,height,avg_frame_rate,nb_frames -of default=nw=1 output-hevc.mp4
Both GStreamer pipelines exited successfully on CM7S. The output contained 240 HEVC frames at 1920×1080 and 30 fps. This test covers file transcoding and decode without a window. The HDMI screenshot above shows the H.264 output.
6. Example 3: Direct H.264 and H.265 tests with MPP tools
The tested rockchip-mpp-demos package (1.5.0-1) provides both tools. Use the H.264 clip from section 3 and the HEVC MP4 from section 5.2.
Allow at least 400 MiB of free space and preserve any existing files with the same output names.
command -v mpi_dec_test mpi_enc_test
cd ~/rockchip-video/advanced
Extract the H.264 stream, then decode and encode 60 frames.
ffmpeg -nostdin -n -i ../sintel-1080p.mp4 -an -c:v copy -bsf:v h264_mp4toannexb input.h264
mpi_dec_test -i input.h264 -t 7 -n 60 -f 0 -o decoded.nv12
mpi_enc_test -i decoded.nv12 -w 1920 -h 1080 -hstride 1920 -vstride 1080 -f 0 -t 7 -n 60 -fps 30 -bps 6000000 -o encoded.h264
Repeat with the H.265 output from section 5.2.
ffmpeg -nostdin -n -i output-hevc.mp4 -an -c:v copy -bsf:v hevc_mp4toannexb input.hevc
mpi_dec_test -i input.hevc -t 16777220 -n 60 -f 0 -o decoded-hevc.nv12
mpi_enc_test -i decoded-hevc.nv12 -w 1920 -h 1080 -hstride 1920 -vstride 1080 -f 0 -t 16777220 -n 60 -fps 30 -bps 6000000 -o encoded.hevc
Check that each encoded stream contains 60 frames.
for file in encoded.h264 encoded.hevc; do
  ffprobe -v error -count_frames -select_streams v:0 -show_entries stream=codec_name,width,height,nb_read_frames -of default=nw=1 "$file"
done
FFmpeg extracts the streams without re-encoding. The bitstream filters convert the MP4 streams to Annex B. In these MPP tools, -t 7 selects H.264, -t 16777220 selects H.265, and -f 0 selects NV12. Each run processes 60 frames and writes its files to ~/rockchip-video/advanced/.
| Input | Decoded file | Hardware-encoded file | Board verification |
|---|---|---|---|
| H.264 | decoded.nv12 | encoded.h264 | H.264, 1920×1080, 60 frames |
| H.265 | decoded-hevc.nv12 | encoded.hevc | HEVC, 1920×1080, 60 frames |
Each NV12 dump was 186,624,000 bytes in the packed layout exported by the test tool. When reading hardware buffers, take the row and vertical strides from frame metadata.
For C/C++, start with the SDK's MPP development package and demos. Initialize the context, submit input, collect output, drain at EOS, and release resources. If frame dimensions or layout change, prepare buffers from the new frame information.
6.1 Play the MPP output
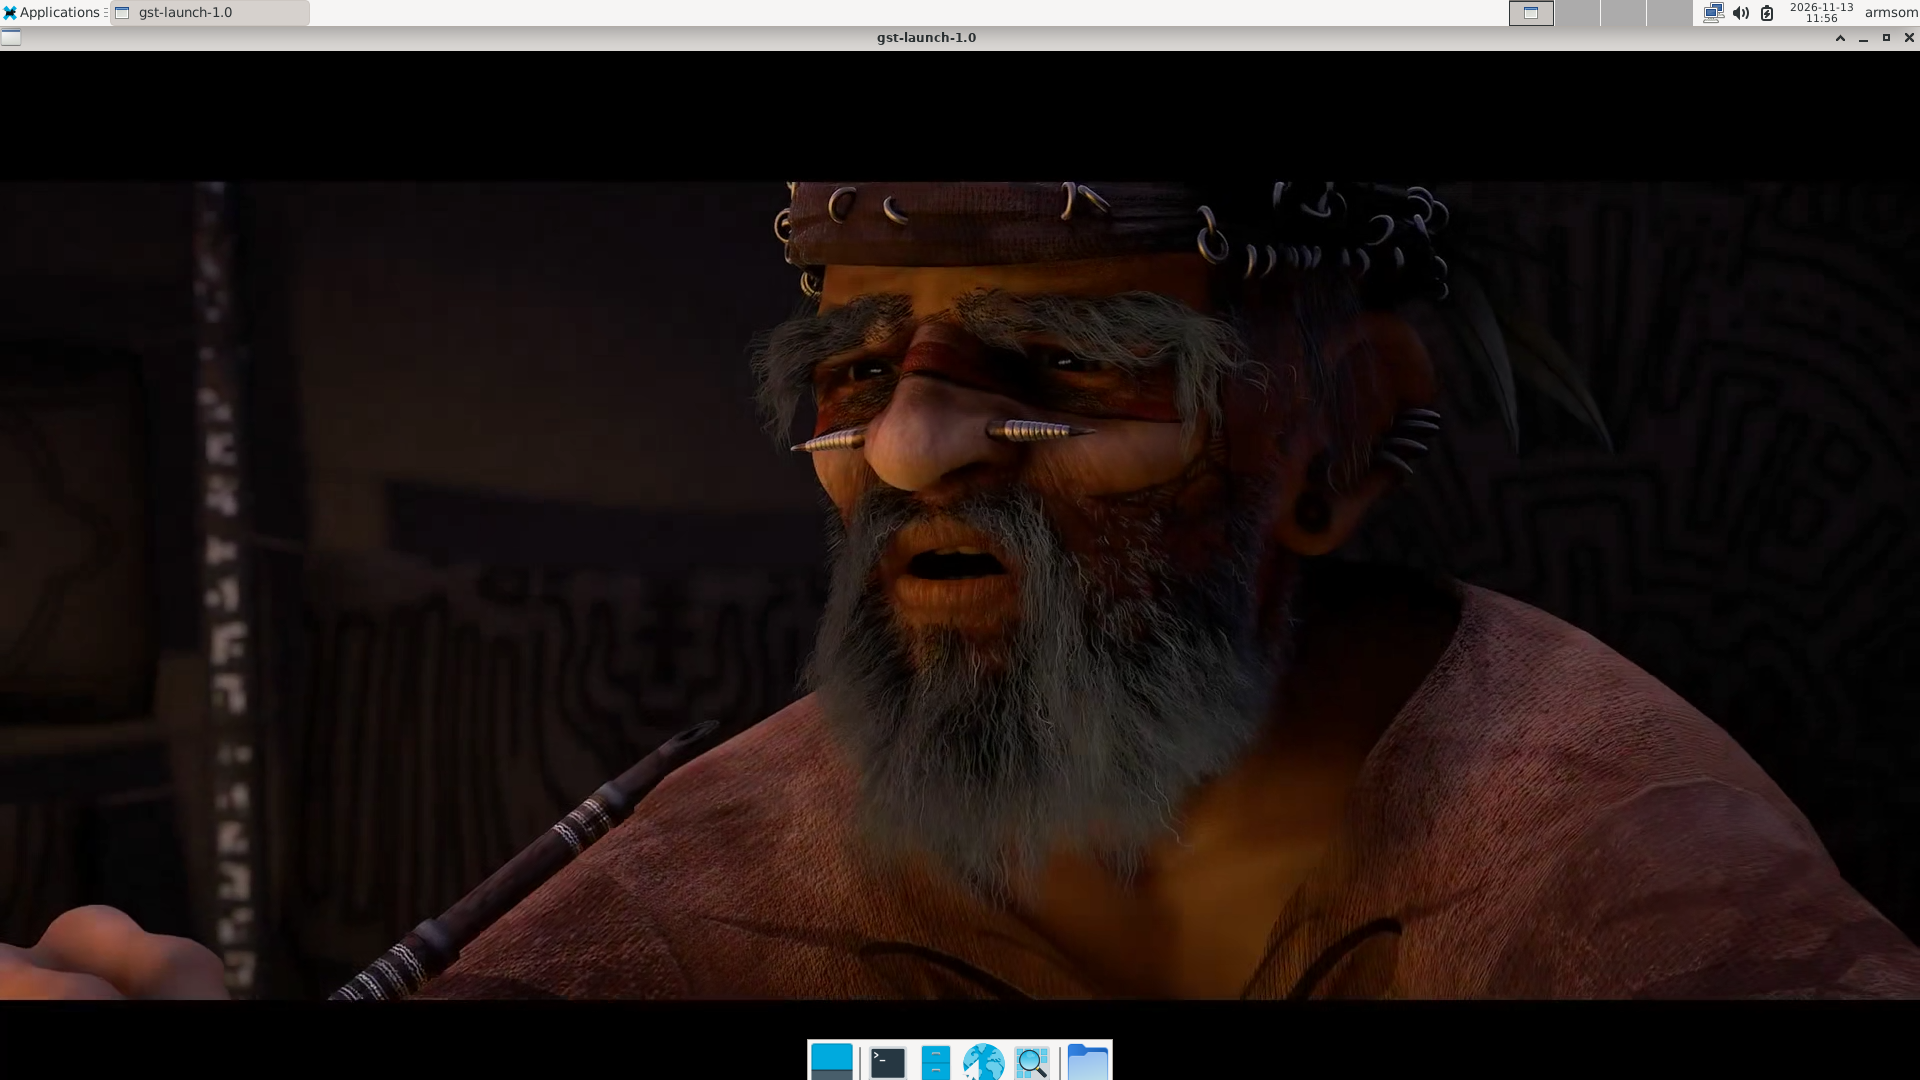
Play the raw HEVC stream produced by mpi_enc_test. It has no MP4 container, so the playback pipeline starts at h265parse without qtdemux.
cd ~/rockchip-video/advanced
DISPLAY=:0 gst-launch-1.0 filesrc location=encoded.hevc ! h265parse ! mppvideodec ! xvimagesink
Sintel © Blender Foundation | durian.blender.org · CC BY 3.0