6. VNC Remote Desktop
6.1 Configuring Vino Desktop VNC Service
VNC consists of a client and a server. We will first configure the VNC server on the ArmSoM product.
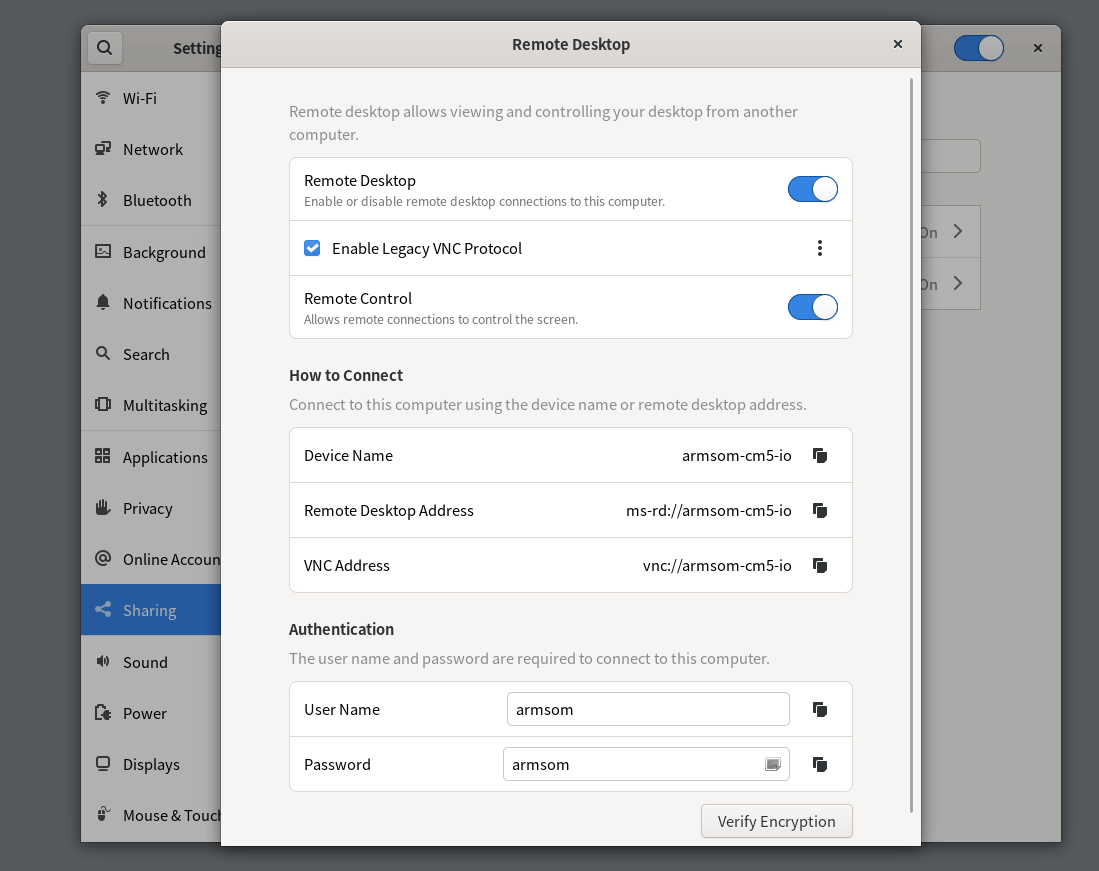
6.1.1 Open the VNC Configuration

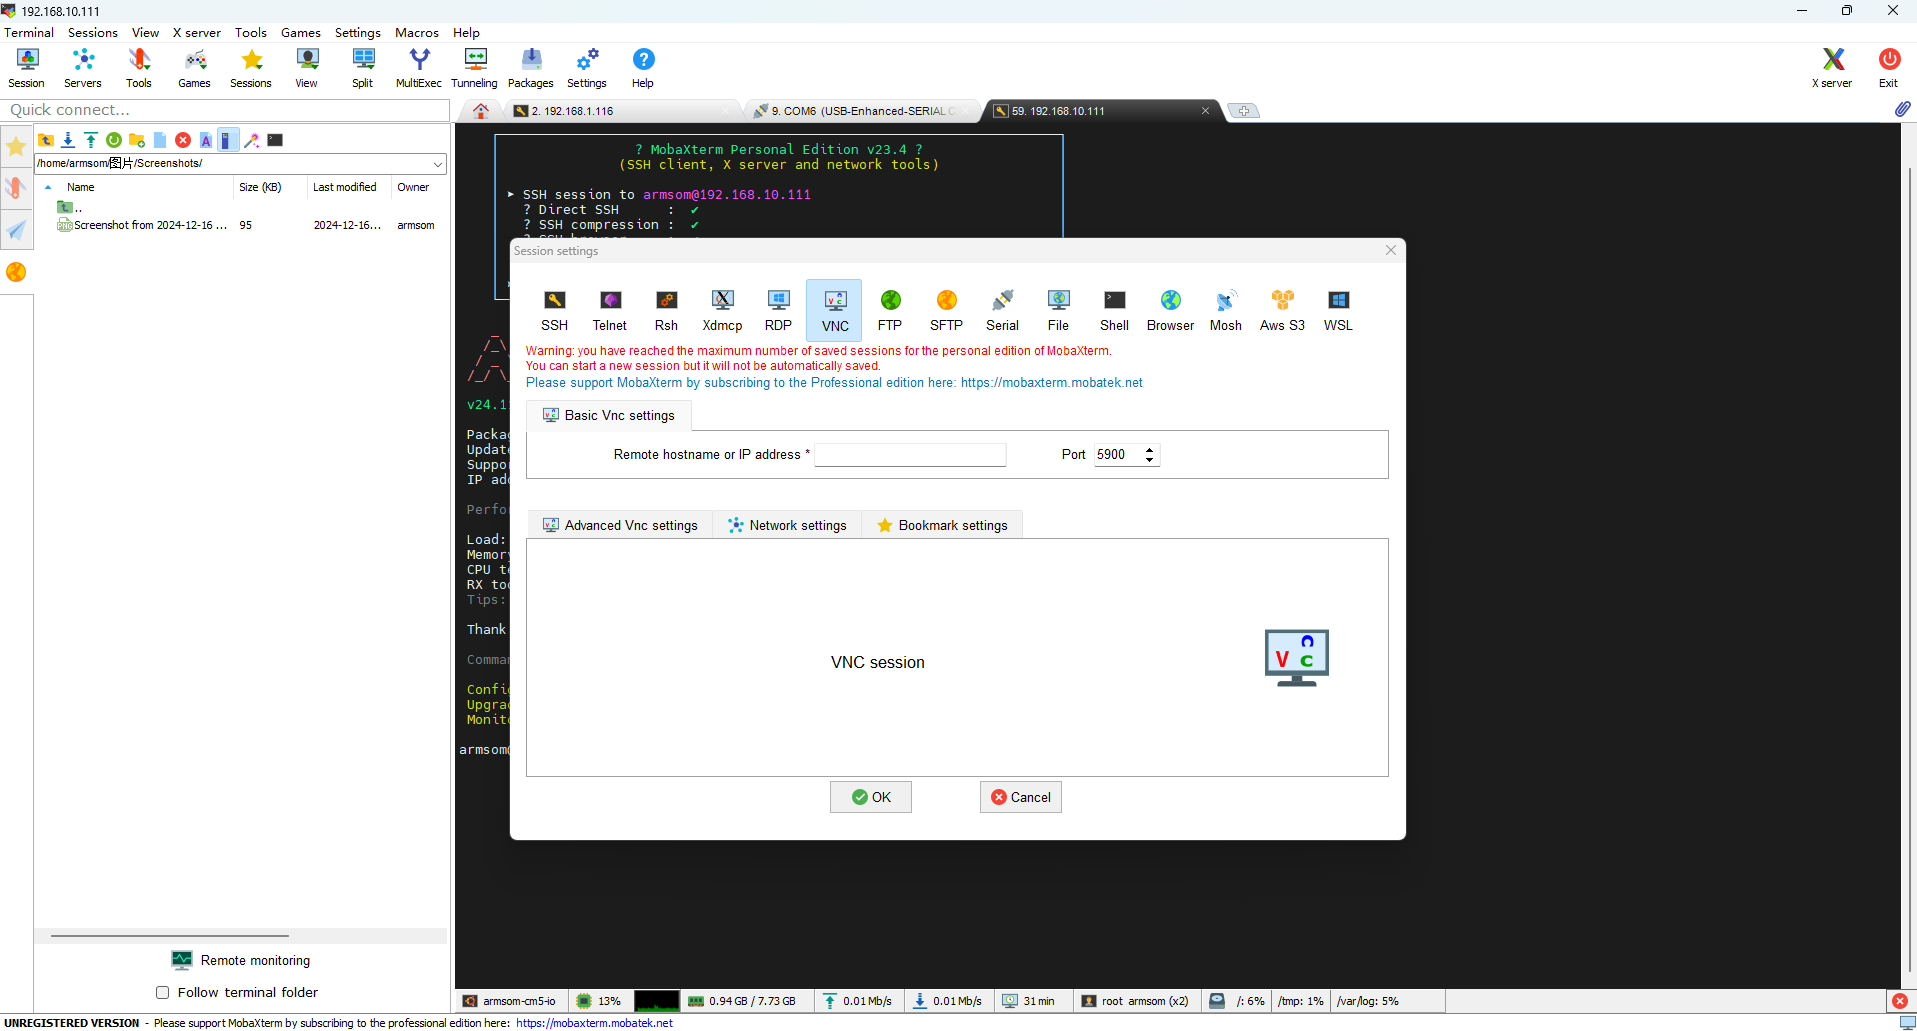
6.1.2 Connect to VNC Using MobaXterm
You can connect using the VNC feature in MobaXterm by entering the actual IP address of the product:

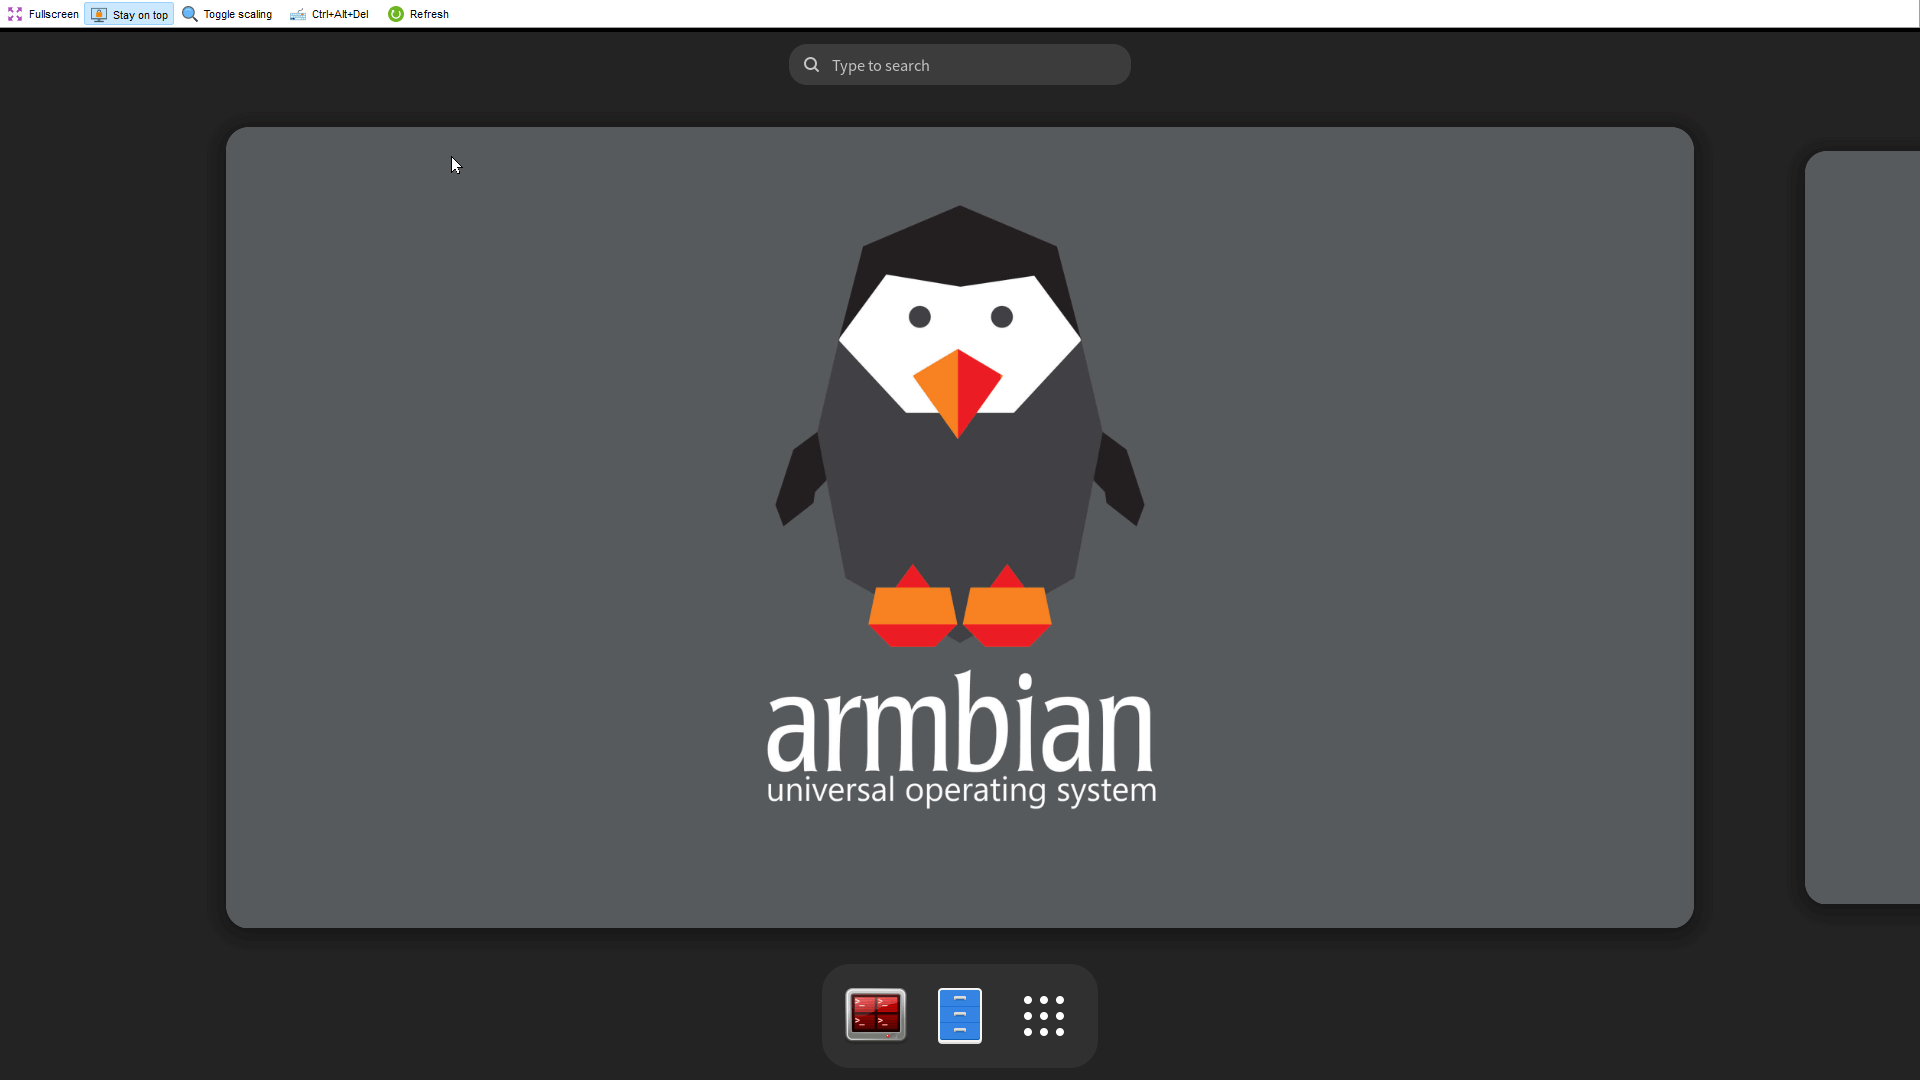
6.1.3 Successful Login

6.2 Configuring VNC Service with TightVNC
It is recommended to use the lightweight XFCE desktop environment with TightVNC. XFCE does not depend heavily on graphical effects or acceleration.
The following example uses Armbian ArmSoM-CM5-IO with the Bookworm XFCE desktop environment.
6.2.1 Install TightVNC Server and Configure XFCE
Install TightVNC Server
Run the following commands in the terminal to install the TightVNC server:
armsom@armsom-cm5-io:~$ sudo apt update
armsom@armsom-cm5-io:~$ sudo apt install tightvncserver
Start VNC Server
Run the following command to initialize the VNC service:
armsom@armsom-cm5-io:~$ vncserver
- The first time you run this command, you will be prompted to set an access password (it is recommended to use a 6–8 character password).
- The VNC server will allocate a virtual desktop, such as
:1(corresponding to port 5901, i.e., 5900 + virtual desktop number). - To check the currently running VNC sessions, use:
armsom@armsom-cm5-io:~$ ps -ef | grep vnc
armsom       956       1  0 14:43 ?        00:00:00 Xtightvnc :1 -desktop X -auth /home/armsom/.Xauthority -geometry 1920x1080 -depth 24 -rfbwait 120000 -rfbauth /home/armsom/.vnc/passwd -rfbport 5901 -fp /usr/share/fonts/X11/misc/,/usr/share/fonts/X11/Type1/,/usr/share/fonts/X11/75dpi/,/usr/share/fonts/X11/100dpi/ -co /etc/X11/rgb
armsom      1194       1  0 14:43 ?        00:00:00 /bin/sh /home/armsom/.vnc/xstartup
armsom      2361    2019 33 14:46 ttyFIQ0  00:00:00 grep vnc
Kill a VNC Session
To stop a session, for example :1, run:
vncserver -kill :1
Configure VNC to Launch the XFCE Desktop
Edit the VNC configuration file ~/.vnc/xstartup:
nano ~/.vnc/xstartup
Ensure that the last line launches the XFCE desktop environment by adding startxfce4 &:
#!/bin/sh

xrdb "$HOME/.Xresources"
xsetroot -solid grey
#x-terminal-emulator -geometry 80x24+10+10 -ls -title "$VNCDESKTOP Desktop" &
#x-window-manager &
# Fix to make GNOME work
export XKL_XMODMAP_DISABLE=1
/etc/X11/Xsession
startxfce4 &
If the file does not have executable permission, add it using:
chmod +x ~/.vnc/xstartup
Restart the VNC Server
Run the following command to restart the VNC service:
vncserver
6.2.2 Connect to VNC Using MobaXterm
Use the VNC feature in MobaXterm to connect to VNC by entering the actual IP address of the product:

Avoid Simultaneous Desktop Login
- If the server is already logged into a physical desktop, the VNC server may not start correctly.
- Solution: Log out of the physical desktop and only run the VNC virtual desktop.
Firewall Configuration
Ensure the firewall allows access to port 5901 (adjust according to the VNC session number):sudo ufw allow 5901System Resource Usage
- Virtual desktops consume CPU and memory resources. It is recommended to start and manage multiple VNC sessions as needed.
6.2.3 Create a systemd Service for TightVNC
To make TightVNC Server run automatically at system startup, you can create a systemd service.
Create the systemd Service
Use sudo to create a new service file:
sudo nano /etc/systemd/system/tightvncserver.service
Add Service Configuration
Paste the following content into the tightvncserver.service file:
[Unit]
Description=TightVNC Server

[Service]
Type=forking
User=armsom
Environment=DISPLAY=:1
PIDFile=/home/armsom/.vnc/%H:1.pid
ExecStart=/usr/bin/vncserver :1 -geometry 1920x1080 -depth 24
ExecStop=/usr/bin/vncserver -kill :1
Restart=on-failure

[Install]
WantedBy=multi-user.target
Notes:
- Replace User= with your username.
ExecStartandExecStopare the commands to start and stop the VNC service.:1represents the first VNC virtual desktop, with port 5901.- Modify PIDFile with the correct username path.
Reload systemd and Enable the Service
Reload the systemd configuration:
sudo systemctl daemon-reload
Enable the TightVNC service to start at boot:
sudo systemctl enable tightvncserver
Start the TightVNC service immediately:
sudo systemctl start tightvncserver
Verify the Service Status
Check if the TightVNC service is running properly:
sudo systemctl status tightvncserver
The output should show that the service is running:
armsom@armsom-cm5-io:~$ sudo systemctl status tightvncserver
● tightvncserver.service - TightVNC Server
     Loaded: loaded (/etc/systemd/system/tightvncserver.service; enabled; prese>
     Active: active (running) since Tue 2024-12-17 14:56:15 CST; 7min ago
6.2.4 Successful Login
